
 When starting out in woodworking, most think they will never be able to afford all the tools they need/want/desire. But with patience, and the accumulation of years, the gaps fill to a point where, at least I don't feel limited by the tool set I have. In some cases, that means that while I might have multiples of some things (shiny planes & shaves) I might be missing some basic functionality that many others assume as first rung tool ladder purchases (power miter saw, plunge base router). I often find it surprising to compare tools with other woodworkers, and find we often have odd gaps where our tool paths diverged either from specialty, ethics (power/hand), space, or finances.
This is a long way to say I don't have sawhorses. I've never owned them. Whenever I needed them I had always somehow made do with some other temporary support and thought "I should get some saw horses" and then do nothing until the next time they would be handy... Of course there are numerous great designs (intrigued with the knock down burro design,) and they can even be purchased, but that all seemed like something I'd get to someday, but never did.
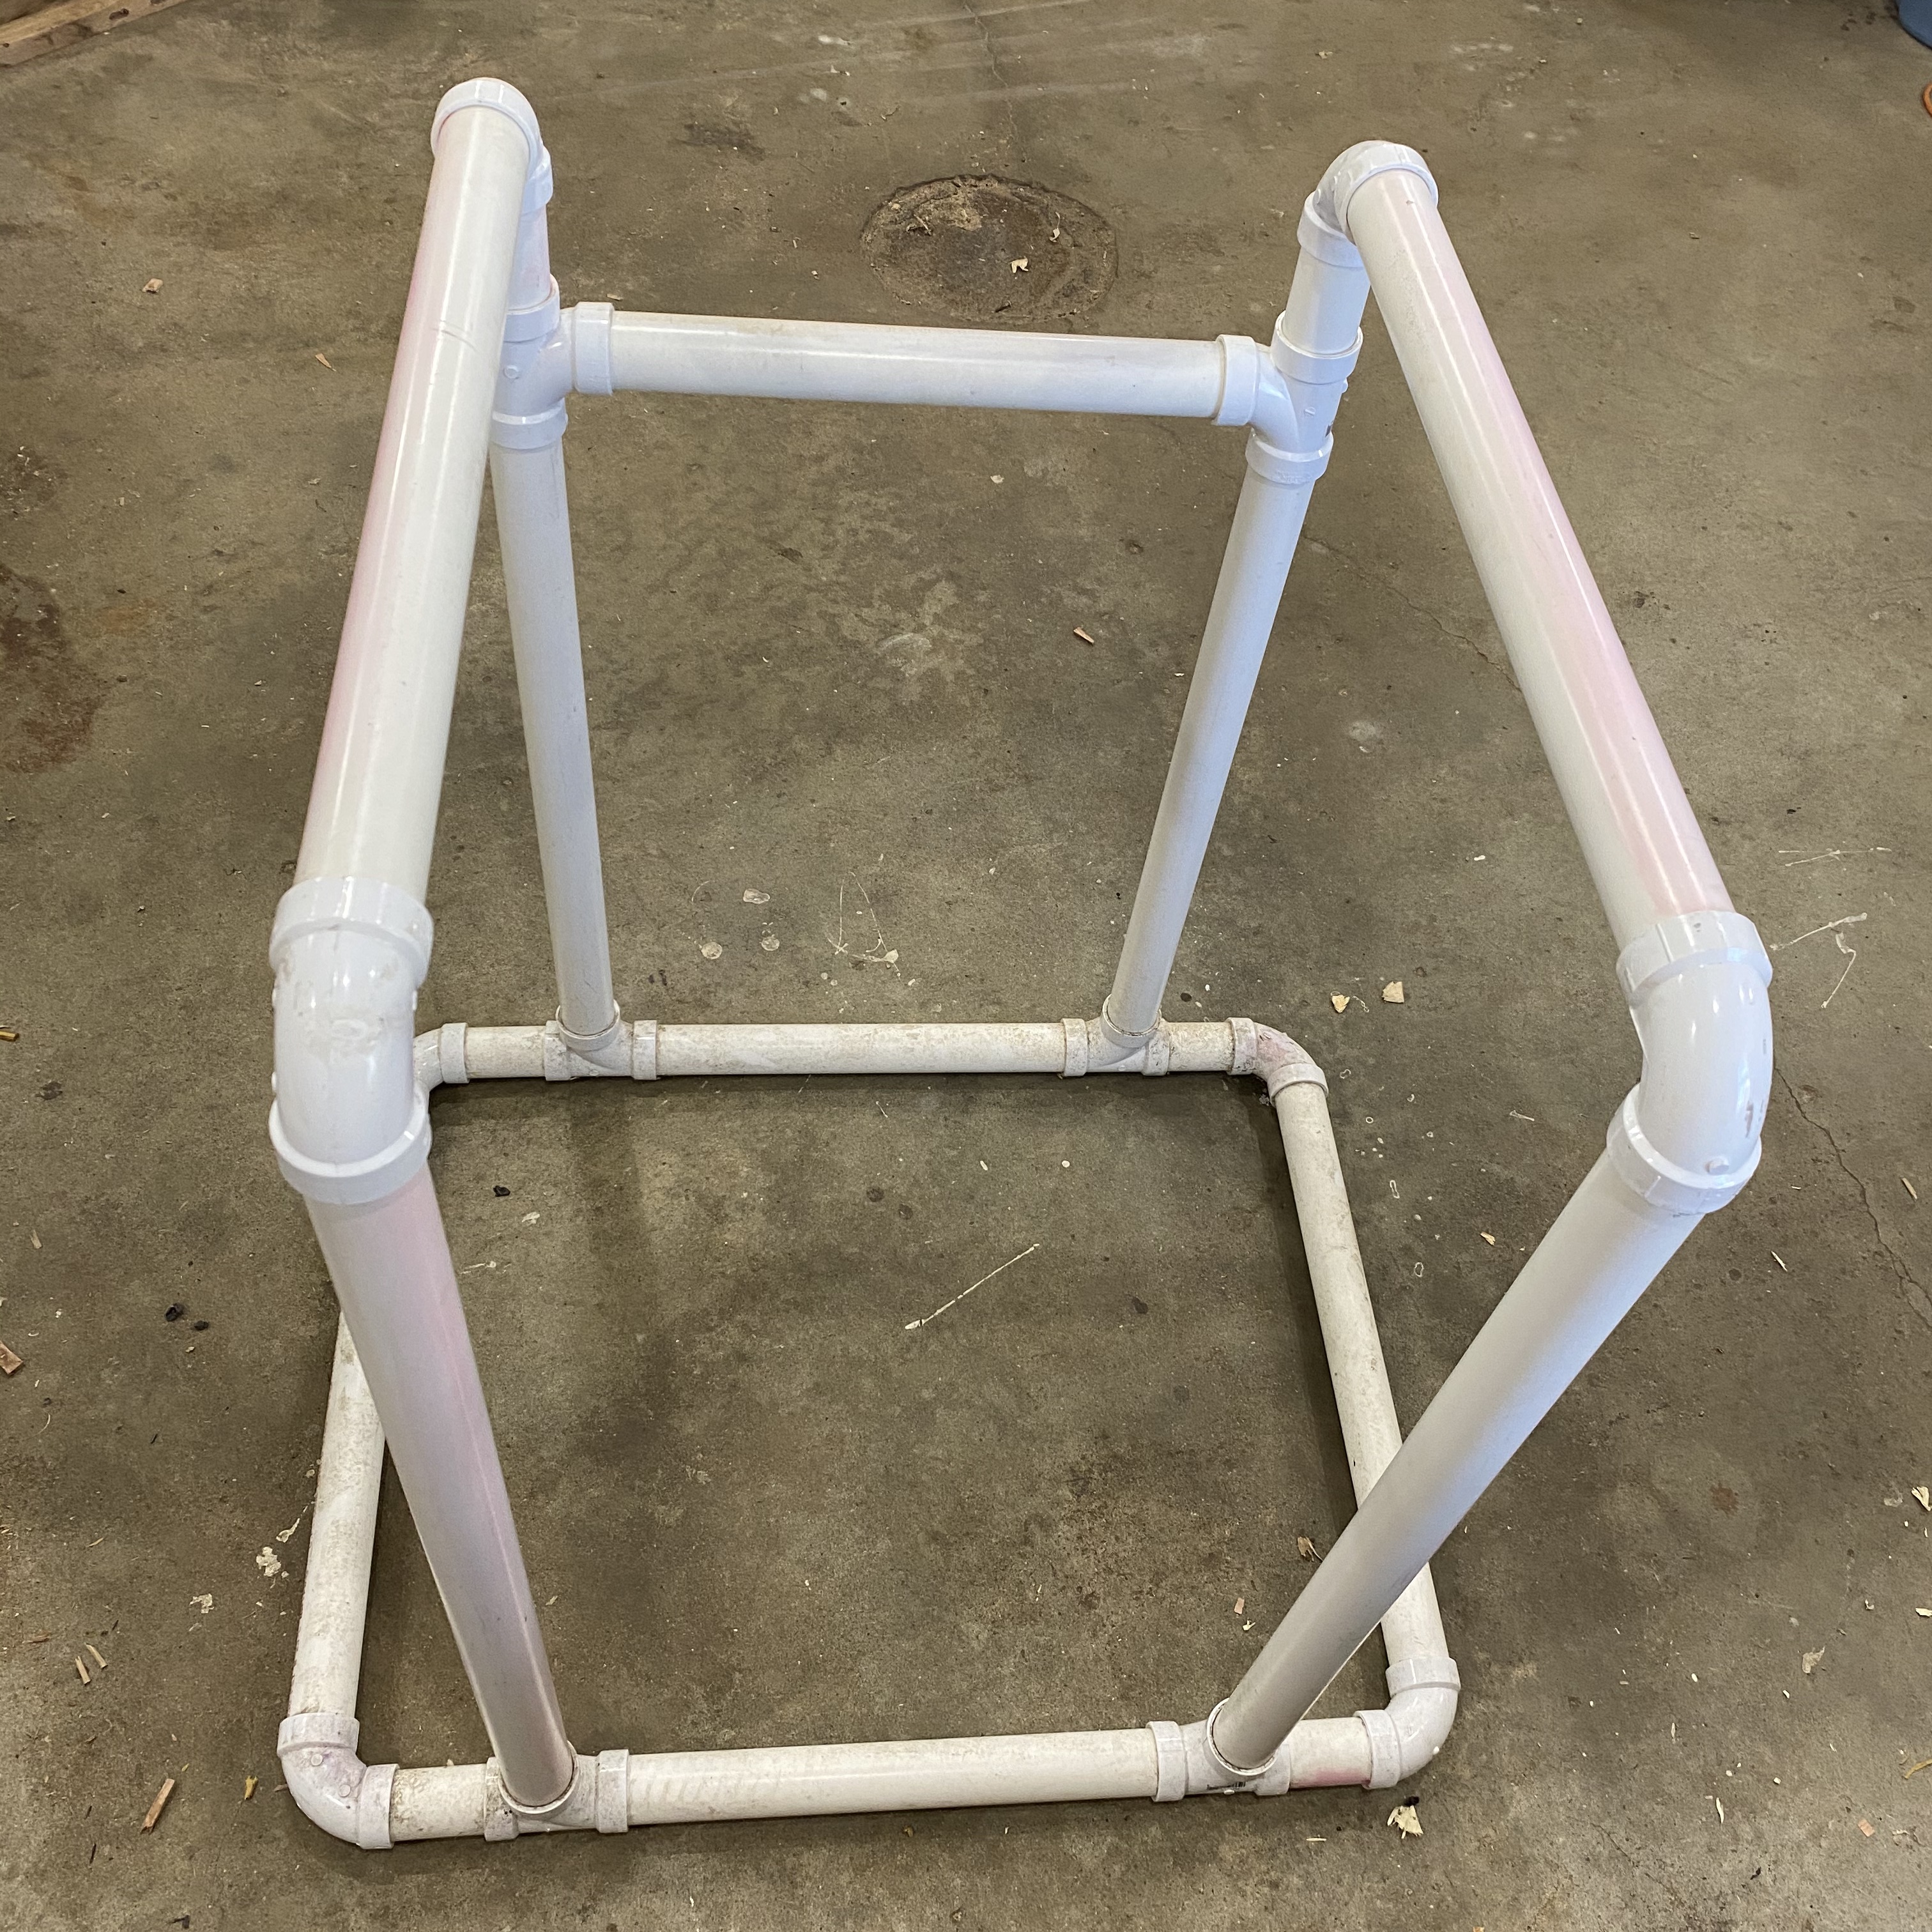 What I did have was a crazy PVC pipe monstrosity. This bulky, ugly cage was something I knocked together a couple of years ago when I was enamored by the material and I was getting into Gymnastic Strength Training. I made this contraption to do parallel bar dips. I never really liked it, but figured, "no problem, I'll be up to using rings for everything in no time!" Narrator: He did not quickly progress to rings. (Rings are hard). While I do hope to get fully on to those ring progressions, I finally decided the cage had to go and I needed something better. I landed on Krenovian parallel bars.
To be honest, I had not really liked the design before. They always seemed a bit too precious and complicated and light duty for the somewhat rough, disposable nature of sawhorses (though certainly not the most complicated I've seen) Still, I landed on them because of the lack of protuberances in the undercarriage interfering with their (or rather my) action. I also admit they look nicely stored away, and would certainly match my emerging shop vibe once burned "finished".
While I'm pretty sure I could have come made them from memory, or customizing based on an image search, I recalled an old Fine Woodworking article on the topic. I found the one I was after (with of course some time rummaging through adjacent articles as one does when going through FWW) and found the one I remembered.
 It was by Anissa Kapsales I didn't recall this fact, in fact at the time I read this originally, I didn't "know" her at all. If you don't, she is a delight and adds a lot of fun to Shop Talk Live podcast which is a must listen if you are this far into this post and not bored to tears. I got no little kick out of this, it was like finding out the interesting person you met as an adult, actually was in your high school and you just hadn't known them then.
 I did make a few alterations to the design; it seems the designer had prioritized their function as sawhorses over gymnastic parallel bars, weird. This would not do for me, but I did compromise and make them a little shorter than initially planned so they can (with a simple plywood top panel) also stand in as out feed support for my table saw. (Yeah, the irony of another simple thing that I've somehow avoided) I also raised the lower stretcher a bit to better balance the split and to align with my saw bench height. I used some different thicknesses based on scraps I already had on hand, and I rounded the top edges and added an angle cut to tweak the feel/look to taste.
 Now that I've completed the pair, I have a newfound appreciation for their design. They are pretty smart, a functional tutorial along the lines of a traditional bench sawhook that is slightly more complicated than it needs to be, but has benefits beyond its intended function. Heres why; in building a pair, a new woodworker would make 4 blind mortise and tenon joints (I draw bored mine), 4 through wedged M&T joints and 4 (pinned) lap type joints. This is all in the context of very economical material usage that really can be made from short odd scraps in a variety of thicknesses that I almost guarantee you already have on hand. This is an ideal project for someone new to joinery looking for practice in a project with some leeway on the end result.
Beyond the simple project that packs a lot of learning in, Krenov's design reminded me about one of the goals I'd hoped to achieve with this blog.
It's hard to believe that in the seven-ish years I've been occasionally blogging, I've never really discussed what I may be most qualified to talk on. In my secular job, my expertise, such as it is, is in the field of engineering, applying and analyzing geometric dimensioning & tolerancing (GD&T). In this realm, there are numerous problems that engineers often try to solve by over constraining a design (think, wobbly 4 legged table vs stable tripod) sometimes it's obvious, but unavoidable, sometimes it's less obvious but by taking a constraint theory approach to looking at the system, the root cause of the problem (and often then the solution) emerges.
I've often thought that woodworkers have had to deal with and apply constraint theory problems over the ages (with the corollary that due to the constant wood movement changing the dimensions of parts, it is a lesson that must be learned) Many vernacular designs I have observed have (un)knowingly have addressed these constraint problems. For instance, a four legged table with a normal apron structure, the top normally has enough flex and will "hinge" across the high corners resting easily on all four legs, but an excessively stiff undercarriage will not give in this manner, introducing the dreaded wobble.
 These
These Overall these Sawhorses parallel bars will be a nice addition to my space. and I wish I hadn't waited so long to make some, it was a good fun quick project that uses very little material and doesn't take up much space when completed. I hope this inspires you to make a pair, as I think they would be at home in a shop/gym, (unless you are already progressed to using just rings, in which case I hate you and hope you rot :)


