When I first heard the TED talk
"Embrace The remix" it struck a chord, because I could see it so much in my life. At times, I've been told I'm "creative" yet I often feel the thing I've done (take this thing from here, and put it over here) not really creative, but rather as the big purple guy says... inevitable.
I'm a terrible blogger. I'm infrequent and I have not very good writing skills, stemming from my preference for the STEM over liberal arts in school. (What draftsman/engineer hopeful in the 90's would have guessed so much of our careers would be writing letters [email] instead of technical work?) Still, I've found I'm not very much of a procedural blogger. I need to frame a project in some sort of narrative (i.e. a meta comparison of this project being a remix.) I've started this post numerous times in the last couple years but just lose steam in trying to figure out some unifying theme for me to write. There are so many similar DTC out in the world and wasn't exactly sure what I would be adding to the conversation.
 |
| Tool accessibility |
I mean I do, it's the lid; that's the splashy obvious thing that's different. (There are other things.) The path to this piece of tool storage is more involved than just the lid along the way. Not simply encompassing making a literal case for protecting the stuff, but also making a logical case for having the good stuff in the first place. Still, in the interest of not becoming the recipe blog that never just gives you the stupid recipe, the first pic in this blog should be all you need to know about making your own tilt forward lid DTC.
As you chose to read on, hopefully the timeline path that follows illustrates what would inevitably lead me to this design:
- (April 2007) The first time I recall really “seeing” a linkage in a woodworking setting was John Economaci’s foxtail shoulder plane, which is just plain cool. After that I’ve tried to be on the watch for other applications.
- (2011) Anarchist's Tool Chest is released, and I decide I need a chest to better protect my tools from the elements
- (June 2012) I visit John Sindelar's tool museum Mind blown. Taking it all in inspires me to have a smallish set of great tools. The gears start turning on building that kit and storing it in an heirloom ATC floor chest.
- (June 2013) I remix and build a 6 board tool chest of sorts
- (October 2013) Schwarz DTC Article in Popular Woodworking. This shows that you can pack a lot of tool storage in an efficient package.
- (June 2014) In my work life, I had a project concept that needed a linkage design, but didn’t have any practical experience designing them. So I turned to YouTube and eventually came to this absolute gem from Carl Holmgren. The linkage design information begins around 10:30 (while you are there watch his retractable casters videos, they are also worth having in your memory banks.
- (March 2015) It must have been right around that time when Jameel made a tool chest post that got me thinking about linkages on tool chest lids (I wish I would spend the time made my links as fancy as Jameel's)
- (September 2016) FairWoodworking and I start discussing his #brokenforprincess idea to accomplish a crazy transforming desk. He was trying to use hinges, I attempted to talk him into linkages. Why? ‘Cause linkages are cool. This sparks an idea to try a linkage for the DTC top. I mock up the geometry needed.
- (March 2017) Visit to Troyes Tool Museum Don't really know what this adds other than it's a super cool tool museum and makes you want to have heirloom tools
- (May 2017) First linkage top completed.
- (May 2019) Some random internet guy posts a blog about it.
- (April 2020) Second DTC finished after a
class build in my shop with some friends and this chest sits for another year before finally deciding to put another linkage lid on it. - (May 2020) Megan sends out the bat signal for DTC mod'rs, pushing me over the hump that I need to document this at least a little after she called me out on Bench Talk in November.
Some things to note if you intend to replicate the lid (which I think is worth it.)
- The lid can house heavy tools and yet it remains easily counterbalanced in motion. I have thought about adding a "soft close" addition just to be cool, but really it's not necessary.
- The linkages are made by drilling out a cut length of big box mild steel and inserting "Chicago" bolts. The nominal size of the bolt was a tight fit (tap with a hammer over a dog hole) in the steel.
- I was concerned about linkage wear, alignment, or the bolts coming undone since I compulsively open & close mine rather than leaving it open most of the time while working, but it has not been an issue.
- There is no real provision for locking the lid. I could come up with something if it was relevant, but I don't have the need in my shop at this moment.
- You'll need a few notches to clear the linkage parts; it's fairly straightforward. If you optionally decide you want a more robust bearing surface in the open surface you can add a couple of small jack screws to control where it lands. I added these when I wanted better control of the lid clearance to the fall front after I added the front lip.
While the novel lid gets all the attention, there are a few other features that I incorporated in my chest(s) that fit my application and might be useful as well.
- The linkage top allows the chest to be against the wall without fear of the lid closing unexpectedly. Mine is mounted on a French cleat.
- To ensure that the weight on said cleat didn't pull off a back board, I glued the adjacent back board, front board and shelf together. This makes a structural channel of sorts and is quite strong. Wood movement is not an issue.
- Because of this glued backbone in the chest and that the lid is secured by the sides, I determined that wire nails work just fine given the forces acting on them.
- After being scared to death of dust in the ATC book I endeavored to make the shelf reveal/lap and batons work to also aid in preventing dust ingress.
- In addition to the very accessible chisel rack on the lid, I also added a couple of other handy storage items a removable tray/drawer inside the lower compartment (which I admit is a pain to access, since the fall front must be removed first), I also added a narrow secondary strip in front of the standard tool rack that handles bladed layout tools like squares and rules easily.
- There is a small lip on the from edge to prevent books/papers from sliding off if desired (they will be in the way) 3/16" is fine for this as I did on the first, but 5/8" is better if you want to store a phone/tablet/laptop for a teleconference.
As a remix, I borrowed from here and there to make something fresh and tailored to my specific taste. In my opinion, the better samplers acknowledge the influences they borrowed instead of blatantly taking credit for things, so hopefully I've done the same. In the end, I want to encourage you to try your hand at whatever crazy idea you might have associated with the form, it's a simple, quick, useful project and it would be useful to just about anyone for storing their stuff, flexible enough to allow a wide array of personalization, like hearing all the different ways people might cover a favorite song.
 |
| Lip on front edge allows inconvenient temporary storage of paper or electronics |
 |
| Some storage solutions (I'm not a huge fan of the drawknife there) |
 |
| Chisel Rack, French cleat and wall spacers |
 |
| Batons and linkage mounting |
 |
| Tool rack track for squares |
 |
| Shelf reveal for preventing dust ingress |
 |
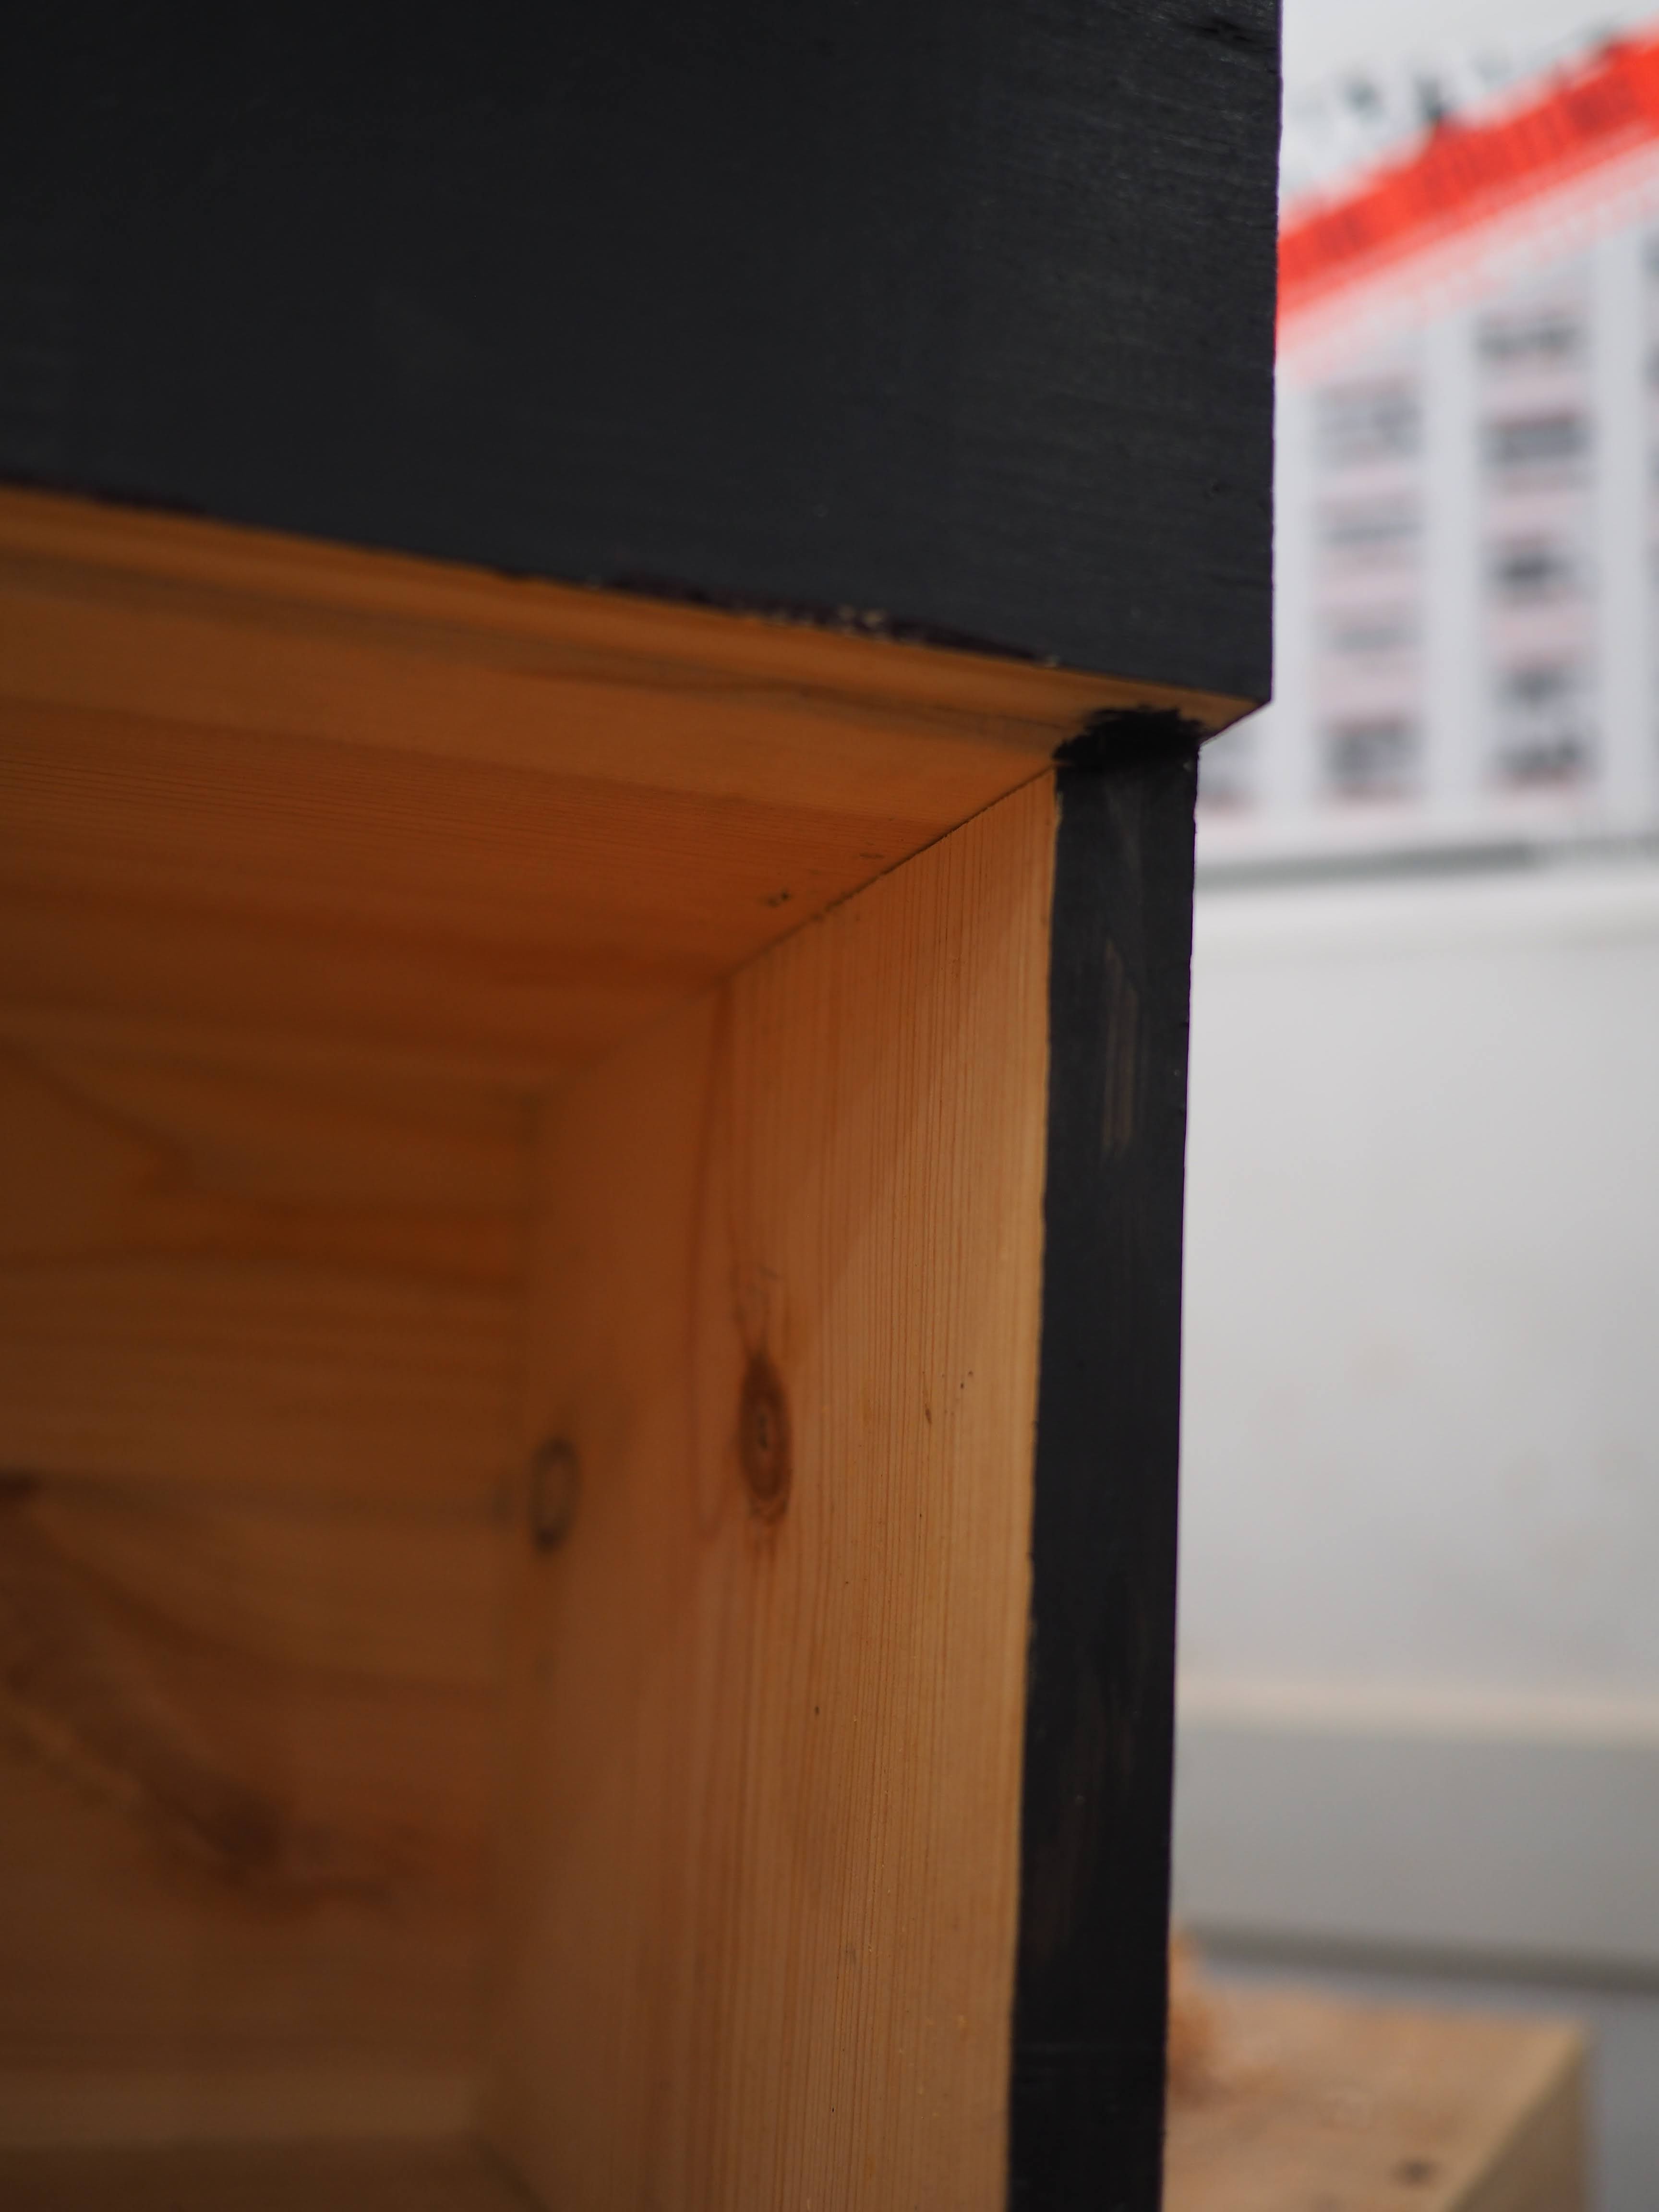
| Notches for linkage clearance and paint wear |
 |
| removable tray above H&R planes |
 |
| Attached to wall at accessible height |


another interesting tool box with linkage:
ReplyDeletehttps://woodgears.ca/tool_holders/toolchest.html
Thanks Sylvain, I forgot to note that as a reference as well that is another great example of a linkage that I had found along the way. A bit different in the functionality, but very creative application for sure.
DeleteGreat article and I love your tool chest idea. Well thought out. Not sure I understand your drawing with circles though. Could you explain that please?
ReplyDeletePedro,
DeleteLooks like you got it figured out, but hopefully for others, an explanation.
The solid circles represent where the links can spin too if not afixed to the lid.
The dashed circles are a way to lay out the linkages points on the static box while the lid is in discrete positions during the design phase.
It will likely be some trial and error to get these layouts but Carl's youtube video shows it well for a new design. I replicated it in CAD because I'm familiar with that tool and allowed me to iterate quickly.
OK need to stop looking at this on phone. Computer blows it up. I got it now.
ReplyDeleteBeautiful idea for the top. This is a wonderful post as well. For what it is worth, I am a Ph.D. chemist. I got into science because I really liked working the lab. Similar to you, 25 since I finished my Ph.D. I no longer work in the lab making things. I like the way you outlined what you do as it's similar to me. Don't get me wrong, I love my career BUT had someone told me what it would have been like in my early 20s, I would have likely cried.
ReplyDelete